
If you’ve ever listened to your raw podcast recording and thought, “Why doesn’t this sound like the podcasts I listen to?”, you’re not alone. Editing is the stage where a good idea becomes a great listening experience. It’s where your story takes shape, your voice shines, and your audience stays hooked from start to finish.
But let’s be honest, learning how to edit podcast audio can feel intimidating at first. There are so many buttons, tools, and technical terms that it’s easy to get lost. Most new podcasters start out excited to record, only to realize that editing can take hours and that one wrong click can mess up an entire track.
This is the moment where many beginners hit a wall. They realize that editing isn’t just about cutting mistakes, it’s what shapes the entire sound and flow of their show. A well-edited podcast feels professional, polished, and easy to listen to. A poorly edited one? It can drive listeners away no matter how interesting the topic is.
That’s why this guide exists. We’re going to walk you through how to edit podcast audio step-by-step using beginner-friendly tools that anyone can learn. You’ll discover how to trim silence, reduce noise, balance volume, and export your episodes the right way — all explained in plain, simple language. So, if you’ve been Googling “how to edit podcast audio” and feeling overwhelmed, relax. You’re in the right place. This guide will make the process simple, clear, and actually enjoyable.
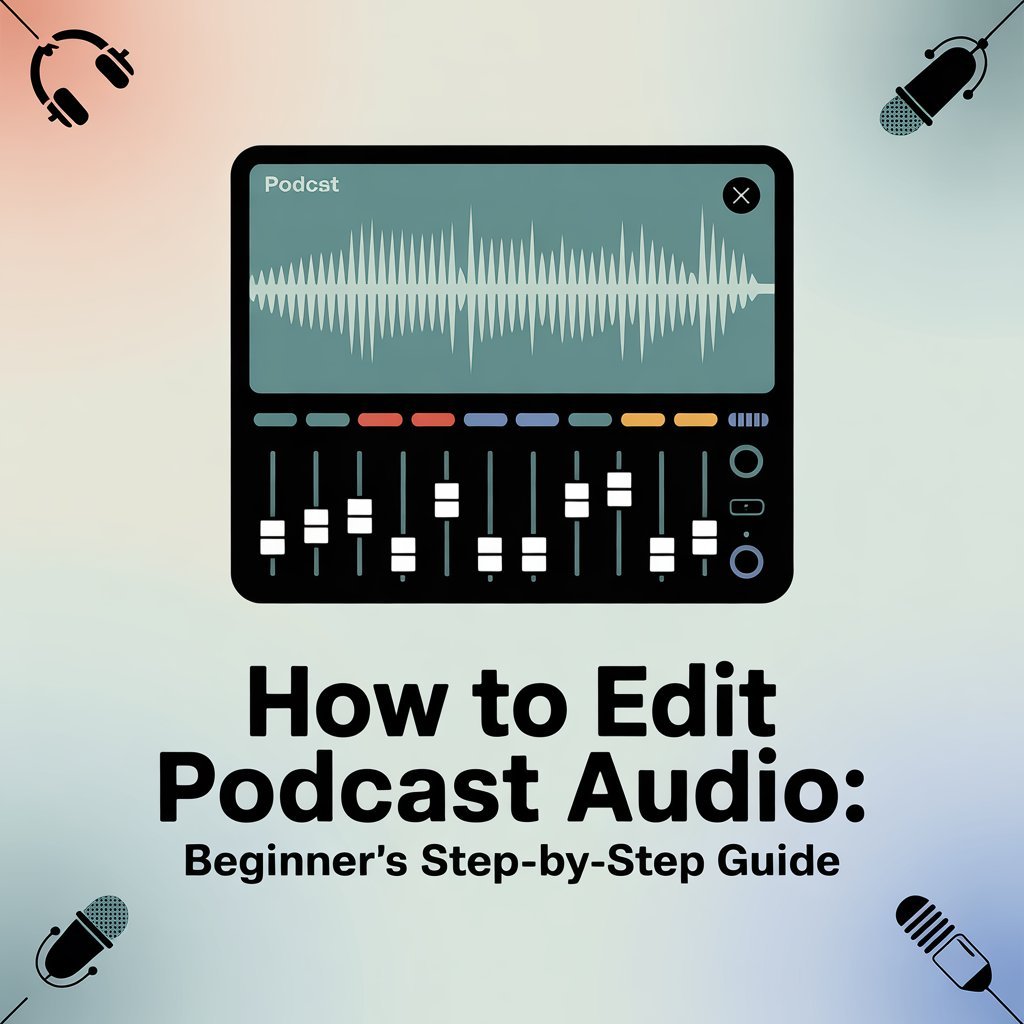
Step 1: Setting Up Your First Project
Before you start cutting, trimming, or polishing anything, the first step in editing your podcast is setting up your project correctly. Think of this like preparing your kitchen before you cook — you need everything organized and ready to go. A clean setup makes the editing process faster, smoother, and way less stressful.
Start by choosing your editing software.
If you’re just starting out, there are plenty of great options that fit different skill levels.
- Audacity is free and works well for basic editing.
- Descript is great if you prefer editing by text instead of waveforms.
- GarageBand is perfect for Mac users who want a simple but powerful tool.
- Adobe Audition is for those who want professional-level control and advanced features.
Once you’ve picked your software, import your raw recordings — this could be your main voice track, your intro music, or any sound effects you plan to use. Label each track clearly (like “Host Voice,” “Guest,” or “Music”) so you can easily find them later. This small step might seem trivial, but when you’re juggling multiple clips, it keeps your workspace organized and saves you from headaches later on.
Next, save your project right away — and keep saving as you go. Name it something clear like “Episode_01_Draft” and store it in a folder where you can find it easily. Accidents happen, and nothing is worse than losing hours of work because you forgot to hit save.
Now, take a moment to adjust your workspace layout inside your editing software. Most programs let you rearrange panels or toolbars so the features you use most (like cutting, zooming, or playback) are easily accessible. The more comfortable your layout is, the faster you’ll move when editing.
Finally, here’s a simple but powerful tip: record in the quietest environment possible. Even before editing, the less background noise you have in your recording, the easier your entire process will be. A clean recording means less work fixing problems later.
And if this setup process feels confusing or you’re not sure what software or layout is best for you, don’t worry — Pure Lighthouse Media can help. We offer setup consultations that walk new podcasters through everything, from choosing software to optimizing your workspace. That way, you can focus on recording while we handle the technical side.
Step 2: Trimming Silence and Mistakes
Once your project is set up, the next step is to clean up your audio by trimming silences and small mistakes. This is where your podcast starts to sound tight, clear, and professional — instead of like a long, unedited Zoom call.
Let’s be honest: everyone says “um,” “uh,” or pauses awkwardly now and then. That’s completely normal in real conversation, but too many of those fillers can make your podcast feel slow or unfocused. Editing helps you polish the flow while keeping your natural style.
Start by zooming in on your waveform (the squiggly lines that represent your sound). You’ll quickly learn to spot sections of silence, those flat lines where nothing’s happening. Listen carefully to those parts. If the pause feels too long or awkward, highlight it and delete it. You don’t need to remove every breath or gap, just the ones that break your rhythm or make your audience lose interest.
Next, tackle your filler words. Phrases like “you know,” “like,” or “uh” can pile up without you realizing it. The goal isn’t to cut every single one, but to clean up enough so your message sounds confident and easy to follow. Try to keep your editing subtle, too much cutting can make your voice sound choppy or robotic.
A great trick is to listen back after every few edits. If the transitions between sentences feel too sudden, undo the cut and leave a small bit of space. You can also use your software’s fade or crossfade tool to blend clips smoothly, especially if you’ve made multiple cuts in one section. This helps remove sharp clicks or sudden jumps that can distract listeners.
When you’re done trimming, play your edited section from start to finish. If it flows easily and sounds like something you’d enjoy listening to, you’re on the right track.
And if trimming feels too time-consuming or you’re not sure what to remove, Pure Lighthouse Media can help. Our editing experts know how to keep your podcast sounding natural.
Step 3: Reducing Background Noise
Now that you’ve trimmed your mistakes and silences, it’s time to deal with something every podcaster battles — background noise. That faint hum from your fan, the buzz from your laptop, or even traffic sounds outside your window can sneak into your recording. These noises might seem minor, but when a listener plays your podcast through headphones, they can be surprisingly distracting.
The goal of this step is simple: make your voice the clear focus of your podcast.
Most editing software — like Audacity, Ocenaudio, or Adobe Audition — includes a built-in noise reduction tool. Here’s how it works:
- Find a few seconds of silence in your recording — a moment where you weren’t talking.
This “silence” isn’t truly silent; it usually contains the soft hums or background buzz in your room. - Highlight that section and tell your software to “Get Noise Profile.” This tells the program, “Hey, this is the unwanted sound I want you to remove.”
- Apply the noise reduction to your entire track: The software will automatically search for similar noise patterns and reduce them, leaving your voice cleaner and more focused.
- Listen back carefully: If your voice suddenly sounds tinny, metallic, or unnatural, that means you’ve gone a little too far with the noise reduction. It’s always better to remove some noise than to risk damaging your voice quality.
If you’re still hearing problems like echo, room reverb, or harsh hiss, that usually means the issue started during recording. Editing software can reduce those sounds, but it can’t completely erase them. The best fix is prevention: record in a quiet room with soft materials like curtains, rugs, or foam panels to absorb sound reflections.
However, if your recording already has background noise you can’t clean up, don’t panic. That’s where professionals come in. At Pure Lighthouse Media, we specialize in removing tough noise and echo while keeping your voice natural and warm. Our editors use advanced tools and human judgment to make your podcast sound polished. So if you’ve tried everything and your audio still isn’t crystal clear, it might be time to get a professional touch. With just one editing session, you’ll instantly hear how much cleaner and more professional your podcast can sound.
Step 4: Balancing Volume and Adding Music
Once your audio is clean and free of noise, it’s time to make it sound polished and engaging. This is where you balance your voice levels and add a bit of music to bring your podcast to life.
Think of this step as adjusting the “mood” of your show. You’re not just cleaning up sound anymore — you’re creating an experience for your listeners.
Let’s break it down in simple terms:
Normalize Your Voice Levels
When two people are talking — say, you and a guest — one voice is almost always louder than the other. Maybe your guest leaned closer to the mic, or maybe you recorded at different times. Either way, uneven volume can be distracting.
Normalization fixes that. It automatically adjusts your audio so that both voices play at roughly the same loudness level.
You’ll find this option in most editing tools (like Audacity or GarageBand) under “Effects” → “Normalize.” After applying it, listen again to make sure no one sounds too quiet or too loud.
Use Light Compression
Compression might sound technical, but it’s actually pretty simple. It helps even out your audio even more by bringing down the loud parts and lifting up the quiet ones.
Imagine someone laughs loudly or speaks softly during an interview, compression smooths those extremes so everything flows naturally. You don’t need to go overboard. Just a little compression makes your podcast sound smoother and more professional, like the shows you hear on Spotify or Apple Podcasts.
Add Intro and Outro Music
Your music is the first and last thing listeners hear — so it sets the tone for your show. Choose something that matches your podcast’s mood.
- For motivational shows, try something upbeat and energetic.
- For storytelling or interviews, go for something softer or cinematic.
Use a fade-in effect at the start so the music gradually blends into your voice. Do the same with a fade-out at the end for a smooth, clean finish.
Keep Background Music Subtle
Background music can make your podcast feel more dynamic, but it should never compete with your voice.
A good rule of thumb: if you have to strain to hear your words, the music is too loud.
Lower the music volume until it gently supports your speaking voice, almost like a movie soundtrack that adds emotion without stealing the scene.
If this sounds like a lot to manage, don’t worry — every podcaster starts here. But if balancing voices and music starts eating up your time, there’s an easier way.
At Pure Lighthouse Media, we help podcasters get that smooth, professional mix without the stress. We’ll handle the compression, leveling, and music transitions so your episode sounds crisp, consistent, and ready to publish.
Step 5: Exporting Your Podcast Correctly
You’ve cleaned up your audio, balanced the sound, and added music that fits your podcast’s vibe. Now it’s time for the final step, exporting your episode so it’s ready to share with the world. This part might seem small, but exporting your podcast correctly makes a big difference in how it sounds across different streaming platforms like Spotify, Apple Podcasts, or Google Podcasts.
Let’s walk through it step by step.
Choose the Right File Format
When exporting, your goal is to keep your audio sounding clear while making sure it’s easy to upload and stream. The best format for podcasts is MP3.
Why MP3? Because it strikes a great balance between quality and file size. Most podcast hosting platforms recommend exporting at 128 kbps or higher. This setting keeps your audio crisp and professional without making the file too large to upload.
If you’re recording a music-heavy show, you can export at a slightly higher bitrate, like 192 kbps, to preserve more detail. But for talk-based podcasts, 128 kbps is more than enough.
Add Metadata to Your File
Metadata is simply the information attached to your audio file — things like your episode title, show name, artwork, and even your description. It’s what listeners see when they download or stream your episode.
In most editing software, you can fill this in during the export process. Adding metadata makes your podcast look professional and helps listeners recognize your brand right away. Think of it as labeling your work before putting it on display.
Check the File Size
Before you upload, take a quick look at your file size. You want it to be small enough to upload easily but large enough to maintain good quality.
If your episode is over an hour long, the file will naturally be larger. That’s okay, just make sure your internet connection is stable when uploading.
Test Playback on Different Devices
Here’s a step that many beginners skip but shouldn’t, listen to your exported file on multiple devices.
Play it on your phone, laptop, and even through headphones or a car stereo if you can. This helps you catch any volume inconsistencies or odd sounds that might not have been noticeable in your editing software.
If something sounds off, go back and tweak it before you publish. It’s much easier to fix issues now than after the episode goes live.
Save a Backup File
Always export a backup WAV file of your final edit. WAV files are larger than MP3s but hold higher-quality audio. Keeping one as an archive ensures you have the best version of your work if you ever need to re-edit or repurpose the episode later.
Common Beginner Mistakes (and Quick Fixes)
When you first start editing your podcast, it’s normal to make a few mistakes. The editing process can feel like a balancing act between cleaning things up and keeping your voice sounding natural. The good news is that every podcaster has been there, and most mistakes are easy to fix once you know what to look for. Let’s go over a few common ones and how to avoid them.
1. Editing Too Aggressively
One of the biggest beginner mistakes is over-editing. It’s tempting to cut every pause, “um,” or breath, but doing this too much can make your speech sound robotic. Natural pauses help listeners follow your thoughts and give your words rhythm.
Instead of deleting every silence, keep short pauses that feel natural. A good rule of thumb is to listen with your eyes closed — if the conversation sounds smooth and easy to follow, you’ve struck the right balance.
2. Forgetting to Save Project Files Regularly
There’s nothing worse than spending an hour editing your podcast only to lose everything because your software crashed or your computer restarted. It happens to everyone at least once, but it’s completely avoidable.
Make saving a habit. Get into the routine of pressing “Ctrl + S” or “Command + S” every few minutes. Better yet, use the auto-save feature if your software has one. You can also back up your project to a cloud service or external drive after each session to protect your work.
3. Ignoring Consistent Loudness Across Episodes
Listeners notice when one episode is louder or quieter than the next. Inconsistent volume can make your podcast feel unpolished, especially for subscribers who listen to multiple episodes in a row.
Use a loudness meter or normalization feature in your editing software. Aim for around -16 LUFS for stereo audio or -19 LUFS for mono. This keeps your episodes consistent and comfortable to listen to on any device.
4. Skipping Headphones During Editing
Editing with your computer’s speakers might seem fine, but you’ll miss subtle background noises, clicks, or volume issues that headphones reveal.
Always wear closed-back headphones while editing. They block out external noise and help you catch small imperfections that could distract listeners later.
When to Hand It Over to the Pros
At some point, every growing podcaster realizes that editing takes up way more time than expected. In the beginning, you might enjoy trimming and tweaking your episodes, but once you start producing regularly, editing can quickly become the biggest time drain in your entire workflow. What used to feel like a fun creative step can turn into hours of frustration — time you could spend preparing new episodes, connecting with guests, or promoting your show.
So how do you know when it’s time to hand things over to the professionals? Let’s look at a few clear signs.
1. You Spend More Than 3 Hours Editing a Single Episode
If you regularly find yourself stuck behind your computer for hours, perfecting every breath and transition, it might be time to step back. Professional editors know all the shortcuts, tools, and techniques to get your audio polished in a fraction of the time. That means your episodes can be ready faster while you focus on the creative side of your podcast.
2. Your Episodes Don’t Sound as Polished as Top Podcasts
You’ve probably compared your show’s sound to some of your favorite podcasts — and noticed the difference. Maybe your volume levels are uneven, or your background noise is just a bit too noticeable. These small details can make a big difference in how professional your podcast feels.
When you work with an experienced editing team like Pure Lighthouse Media, you get access to expert tools, fine-tuned EQ, and sound restoration techniques that take your episodes from “good” to “studio quality.”
3. You’d Rather Focus on Content, Guests, or Growth
If editing feels like a chore that keeps you from doing what you love, that’s a strong sign it’s time to outsource. As your show grows, your time becomes more valuable. The best use of your energy is in planning engaging episodes, booking guests, and growing your audience, not worrying about compression settings or volume normalization.
The Benefits of Outsourcing Your Podcast Editing
Handing over your editing doesn’t mean losing control of your show — it means gaining freedom and consistency.
- Faster turnaround: Get your episodes back quicker so you can publish on schedule.
- Professional sound quality: Every episode sounds crisp, balanced, and listener-ready.
- Consistent tone and volume: Build a recognizable brand sound that keeps your audience coming back.
Conclusion
If you’ve followed the steps in this guide, you already know that learning how to edit podcast audio gives you a huge advantage. It puts you in control of how your show sounds and helps you understand what your audience hears. The best part? You don’t need to be a sound engineer to make your podcast sound good — just a few reliable tools and a bit of practice can make a world of difference.