When it comes to podcasting, audio quality can make or break your show which makes it important to get the best podcast microphones. Listeners will forgive the occasional stumble in your delivery, but they will quickly tune out if your sound is muffled, distorted, or filled with background noise. A podcast is, after all, an audio-first medium. The clearer and more professional your voice sounds, the more likely people are to keep listening and return for future episodes.
Poor sound does more than frustrate your audience. It can hurt your credibility, limit your ability to grow, and even make it harder to attract guests or sponsors. On the other hand, investing in the right microphone instantly elevates your podcast and helps you stand out in an increasingly crowded space.
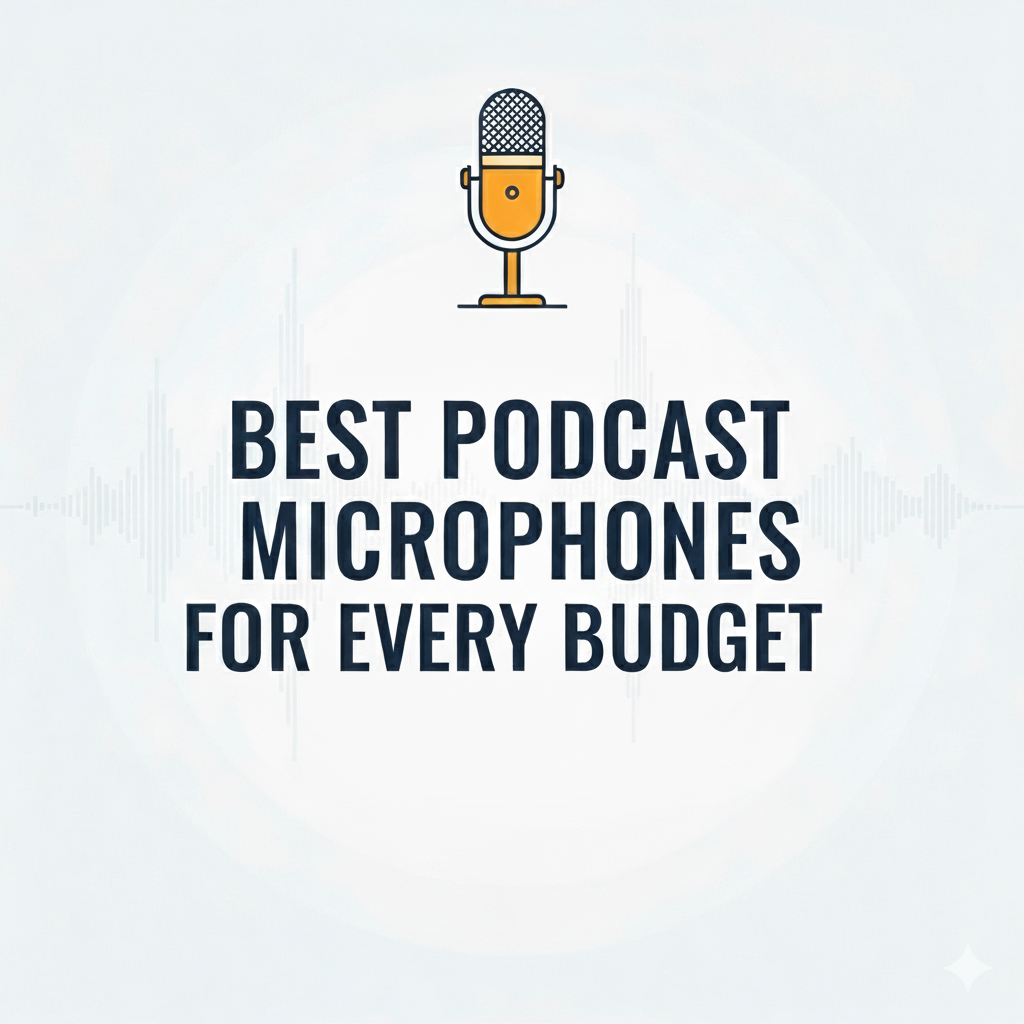
This guide will walk you through the best podcast microphone options for every budget. Whether you are just starting out and need something affordable or you are ready to build a professional-level studio, you will find clear recommendations to help you choose with confidence.
Entry-Level Options ($50–$100): Plug-and-Play USB Mics
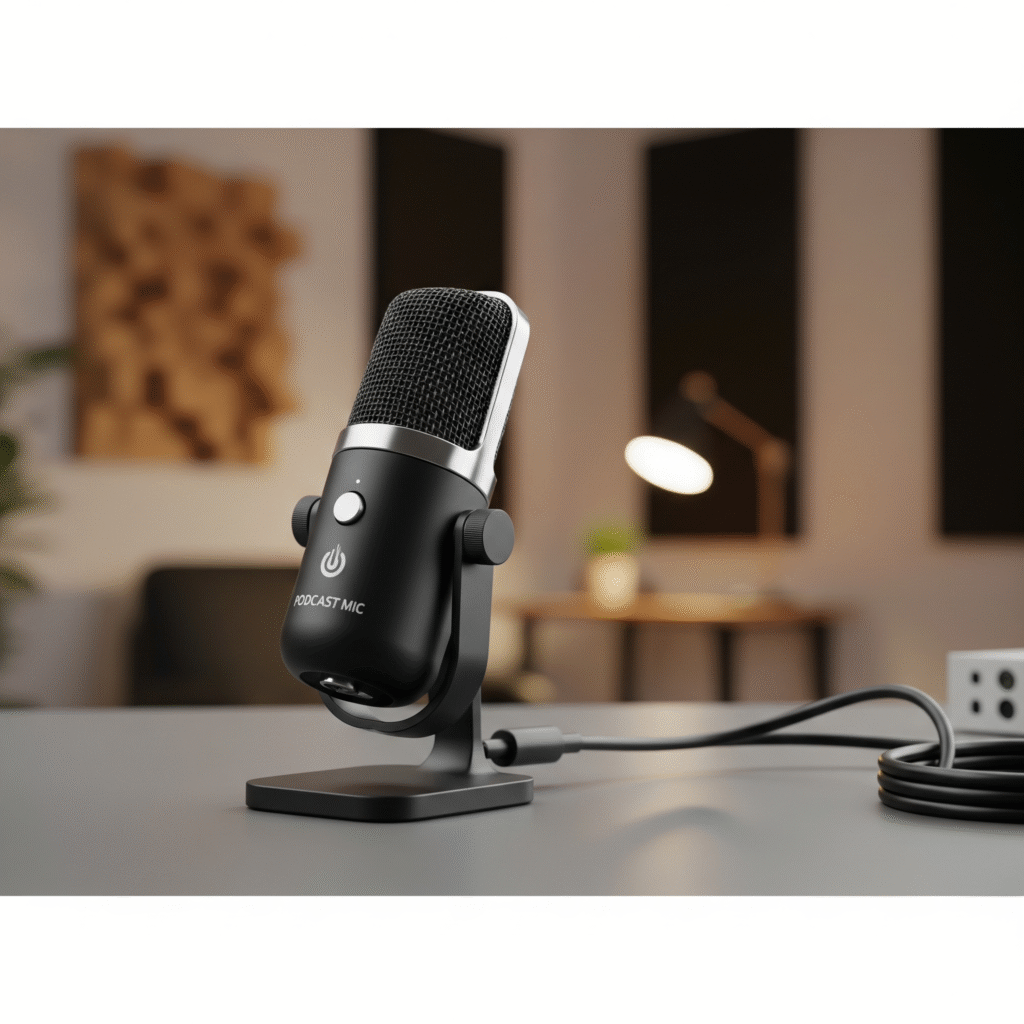
If you are just getting started with podcasting, a simple USB microphone is often the smartest choice. These mics are affordable, easy to set up, and require no extra equipment beyond your computer. You simply plug them in, select them as your recording device, and you are ready to go. For beginners, this makes the process far less intimidating and allows you to focus on creating content rather than wrestling with complicated gear.
Benefits:
- Affordable without sacrificing basic sound quality
- Quick plug-and-play setup with no need for an audio interface
- Compact and portable for recording on the go
Features to Look For:
- USB connection: ensures compatibility with most laptops and desktops
- Cardioid pickup pattern: focuses on your voice while reducing background noise
- Portability: lightweight designs that fit easily into a home setup or travel bag
Top Recommendations:
- Blue Snowball iCE – One of the most beginner-friendly USB microphones. It delivers clear sound at an entry-level price point, although it may pick up some room noise in untreated spaces.
- Samson Meteor Mic – A stylish and portable mic with a large condenser capsule that offers good sound for its size. The folding legs make it perfect for podcasters who need a travel-friendly option.
- Audio-Technica ATR2100x-USB – A versatile choice that includes both USB and XLR connections, giving you the flexibility to upgrade your setup later without replacing the mic.
Who This Tier is Best For:
These entry-level microphones are ideal for solo podcasters, first-time creators, and hobbyists who want to test the waters without a major financial commitment. They provide a solid introduction to podcasting while leaving room to grow as your audience and ambitions expand.
Mid-Range Picks ($100–$250): Versatile XLR/USB Combos
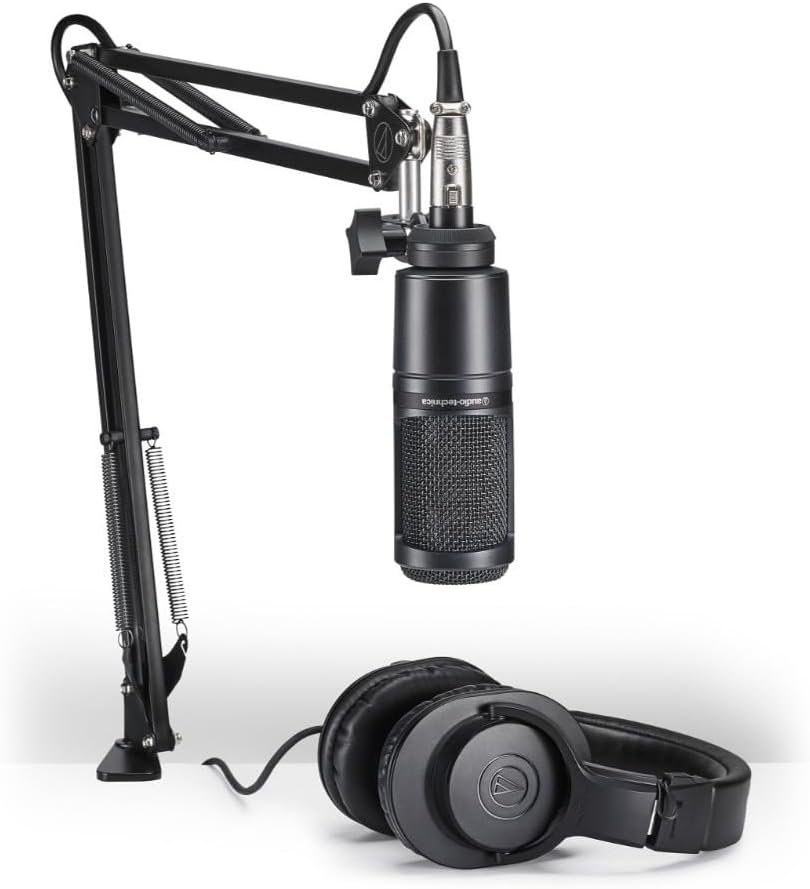
Once you move past the entry-level stage, investing in a mid-range microphone can significantly improve your podcast’s sound quality. These microphones deliver richer tones, greater durability, and more flexibility compared to basic USB models. For many podcasters, this price range is the sweet spot: professional-grade results without the steep cost of high-end broadcast gear.
Why Upgrade?
Mid-range microphones offer clearer, more natural sound and stronger build quality. They also give you room to grow, especially if you are planning to upgrade other parts of your recording setup. Many options in this range support both USB and XLR connections, which means you can start simply with USB and later switch to an XLR interface for even better audio.
XLR vs. USB Explained
- USB Microphones: Plug directly into your computer and are perfect for quick, no-fuss setups.
- XLR Microphones: Require an audio interface or mixer but provide superior audio quality and allow more control over your sound. They are also easier to integrate into multi-microphone setups.
- Hybrid (USB/XLR): The best of both worlds. You can begin with USB for convenience, then transition to XLR when you are ready to scale your studio.
Recommended Models:
- Rode PodMic – A dynamic XLR microphone designed for podcasting. It delivers a warm, broadcast-quality sound at a very accessible price, though it does require an interface to use.
- Audio-Technica AT2020USB+ – A studio-quality condenser mic with USB connectivity. Known for its crisp sound and reliability, it is excellent for both spoken word and music recording.
- Shure MV7 – A hybrid USB/XLR microphone inspired by the legendary Shure SM7B. It offers flexible connectivity and includes built-in software controls, making it a top pick for podcasters who want long-term value.
Who This Tier is Best For:
Mid-range microphones are ideal for podcasters who are serious about growth. If you are running a small podcast studio, hosting a co-hosted or interview-style show, or planning to scale your production quality over time, this tier provides the best balance between affordability and professional sound.
Pro-Level Microphones ($300+): Broadcast-Standard Choices
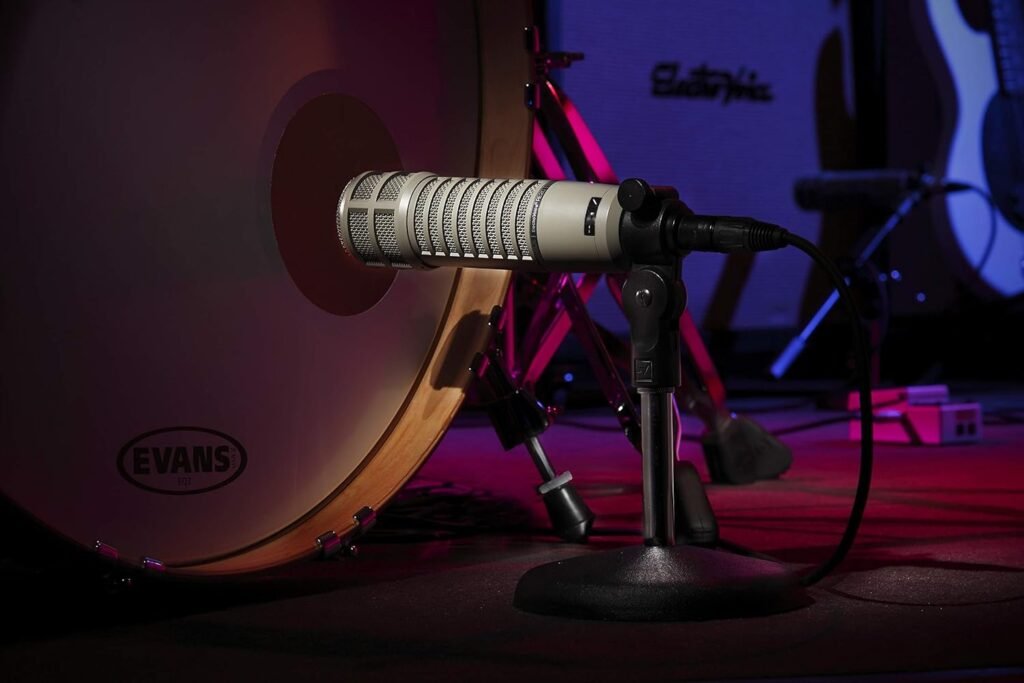
At the professional level, microphones are built to deliver the kind of sound quality you hear on radio stations, major podcasts, and recording studios. These mics are more than just tools — they are investments in your brand and the long-term credibility of your show.
What Makes Pro-Level Mics Different
- Durability: Built with premium materials to withstand years of regular use, travel, and studio work.
- Noise Rejection: Superior ability to isolate your voice while reducing room noise, hums, or echoes.
- Tonal Depth: Richer, warmer, and more natural sound that gives your voice a polished, broadcast-quality feel.
- Consistency: Pro mics maintain clarity even with dynamic speaking styles, from soft tones to louder moments.
Industry Favorites Used by Top Podcasters
- Shure SM7B – Often considered the gold standard for podcasting. Known for its smooth, natural sound and outstanding background noise rejection, it is a favorite of professionals across podcasting, radio, and even music recording.
- Electro-Voice RE20 – A classic broadcast microphone that delivers a warm, deep tone and uses Variable-D technology to minimize the proximity effect (that boomy sound when speaking too close).
- Rode NT1-A – A high-quality condenser mic prized for its extremely low self-noise and studio-grade clarity. It is ideal for podcasters who want pristine sound and record in a treated space.
Who Should Invest in This Tier
Pro-level microphones are best suited for podcasters with established audiences, professional interviewers, or businesses that want to maintain a high production standard. If you are serious about monetizing your podcast, attracting sponsorships, or positioning your brand as an authority, this tier ensures your sound reflects that professionalism.
The Role of Audio Interfaces
Keep in mind that most professional microphones use XLR connections and require a quality audio interface or mixer to unlock their full potential. Pairing your mic with a reliable interface not only improves audio clarity but also allows for more control over gain, tone shaping, and multi-mic setups. Skimping on the interface can undercut the performance of even the best microphone.
Tips for Choosing Based on Room Setup and Voice Type
Choosing the best podcast microphone is not just about the model or brand. Your room and your voice shape how a mic performs. Below are practical, detailed tips to help you match the right microphone to your environment and speaking style, plus the extra gear and a quick checklist to narrow your choice.
Match the mic to your room acoustics: treated versus untreated spaces
- Untreated rooms, such as small bedrooms or living rooms with hard surfaces, create reflections and echo. In these spaces choose a less sensitive mic, such as a dynamic microphone, because it picks up less room sound and focuses on the voice. Examples include many broadcast-style dynamics.
- Treated rooms, with rugs, curtains, absorption panels, or a vocal booth, allow you to use more sensitive microphones like condenser mics, which capture greater detail and nuance. If your space is treated, a condenser will usually deliver richer tone and clarity.
- Polar pattern matters: Cardioid patterns reject sound from the rear and sides, which helps in untreated rooms. Figure-eight or omni patterns pick up more room ambience and are better only in carefully treated spaces or when you intentionally want room sound.
- Practical fixes to improve an untreated room: move away from bare walls, add a rug or heavy curtain, place bookshelves as diffusers, or use a portable reflection filter behind the mic. Even simple changes reduce hiss and flutter echoes.
- Mic placement: position the mic 4 to 8 inches from your mouth, slightly off axis if you have strong plosives or sibilance. Closer placement increases presence and reduces room pickup, but watch for bass build-up from the proximity effect.
Consider voice pitch, tone, and speaking style when selecting a mic
- Low voices, deep tones: some mics accentuate bass and may become boomy. A dynamic mic with a balanced midrange often produces a polished, controlled sound for deeper voices. Use a small low-cut or reduce lows in post if it becomes too heavy.
- High voices, bright tones: very bright condensers can highlight sibilance and harshness. Choose a mic with a warm top end or plan to use a pop filter and de-essing in editing. Slightly off-axis placement can tame excess brightness.
- Thin or soft voices: sensitive condensers can add body and presence, making the voice sound fuller, but only if your room is quiet and treated. If your environment is noisy, a high-quality dynamic mic may still be the better choice.
- Energetic or dynamic speakers: if you tend to change volume a lot, pick a mic with good headroom and consistent response. Some broadcast dynamics handle varying levels without distorting.
- Interview and multi-host setups: aim for mics with tight cardioid patterns to limit bleed between microphones, and invest in an interface or mixer that provides individual gain control.
Extra gear that improves performance and why it matters
- Pop filter or foam windscreen, to reduce plosives like P and B which cause low frequency thumps.
- Shock mount, to isolate the mic from desk bumps and vibrations.
- Boom arm or mic stand, to position the microphone consistently and free your hands for notes or a script.
- Audio interface or mixer, required for XLR mics and useful for gain control, low-latency monitoring, and better preamps.
- Inline preamp or active gain booster (for example a Cloudlifter or FetHead), for low-output dynamic mics that need extra clean gain.
- Closed-back headphones for monitoring, so you hear exactly what is being recorded without bleed.
- Acoustic treatment or a portable vocal booth, to reduce reflections and make a mic sound closer to studio quality.
- Good XLR cables and cable management, because poor cables can introduce noise and reliability issues.
- Power and phantom power awareness, since condenser mics require phantom power from your interface or mixer.
Quick checklist to narrow down your choice
Use this checklist to get from uncertainty to a clear shortlist. Tick the items that apply to you.
- Room: Treated / Untreated / Mobile recording required
- Noise level: Quiet / Moderate / Noisy background
- Voice: Deep / Midrange / Bright / Thin/soft
- Speaking style: Consistent volume / Wide dynamic range / Frequent plosives or sibilance
- Multi-host or interviews planned: Yes / No
- Desired connection: USB only / XLR only / Hybrid USB/XLR
- Budget tier: Entry / Mid-range / Pro
- Accessories needed: Pop filter, boom arm, interface, shock mount, booth panels
- Ready to test: Record short samples in your space and compare at least two mics or two mic positions
Practical next step: record 30 to 60 second voice tests with different mic distances and angles. Compare the recordings on headphones and check for background noise, proximity bass, sibilance, and clarity. Small adjustments in angle and distance often change a poor recording into a great one.
The good thing is you can them all on AMAZON
Conclusion
No matter your budget, there is a best podcast microphone that can help you sound clear, confident, and professional. From entry-level USB mics to pro-grade broadcast models, the right microphone is an investment in both your show’s quality and your audience’s experience.
Instead of guessing which mic will work for your voice, your room, and your goals, take the time to get expert guidance. The right choice now can save you money, frustration, and countless hours of trial and error later.
Book an equipment consultation with Pure Lighthouse Media to find the perfect mic for your setup.